Everyone knows Zoom makes it possible to record meetings, but did you know you can record just yourself in Zoom? If you want to create a tutorial, demo, or presentation all by yourself, then Zoom is an excellent platform for this purpose.
At tl;dv, we’re big fans of effective async communication. If you’re thinking about how to record on Zoom to record videos of yourself is an efficient way of expressing information. Rather than send a lengthy emails or complex document, try recording a video of yourself that will help viewers see and understand what it is you want to communicate.
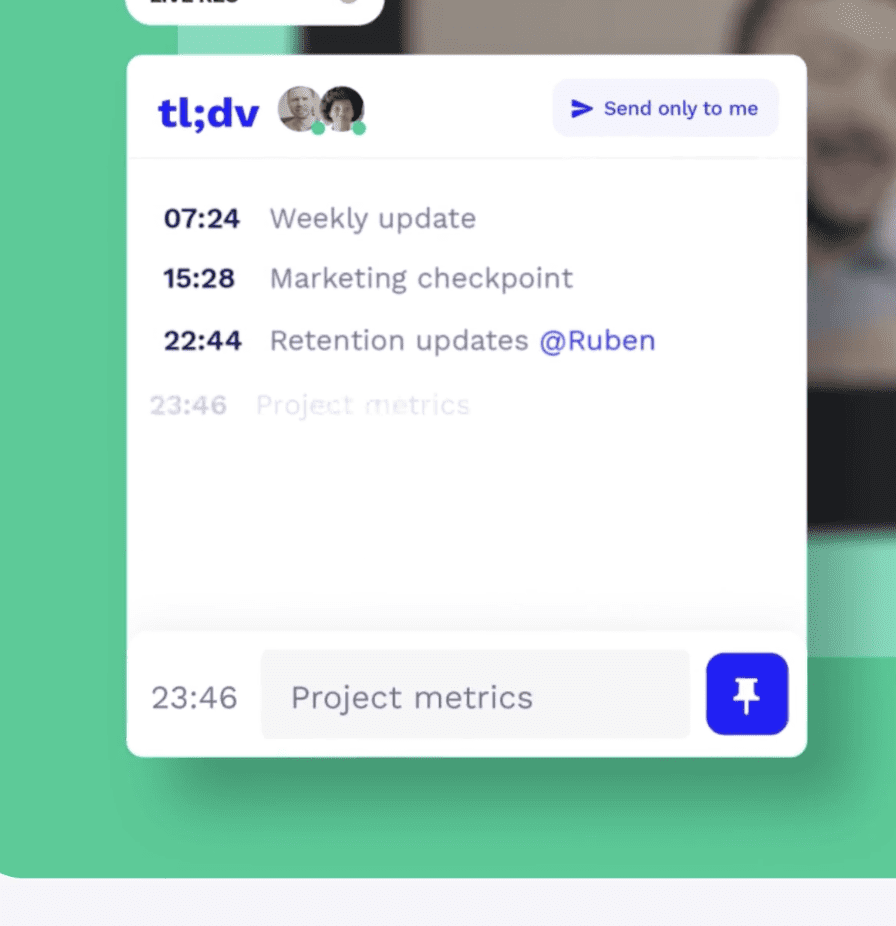
We’ll go through some of the simple ways you can record yourself on Zoom. Our biggest recommendation is that you use the free Zoom extension, tl;dv, to make matters easier. With this award-winning tool, you can easily record yourself on Zoom, then trim or edit the video, timestamp important moments, share previews of the recording across multiple platform, and get a free transcript in several languages, too.
Can You Record Yourself On Zoom?
YES! Recording yourself on Zoom is possible (and kind of easy!)
Simply launch the Zoom app and sign in.
From here you can start a new meeting and invite yourself to join. Once you’re in the meeting, click on the “Record” button at the bottom of the screen. This will start recording your video.
You can stop the recording at any time by clicking on the “Stop Recording” button. Once you’re done recording, you can save the video to your computer or share it with others via a link.
Zoom is primarily a video conferencing tool, but it also has a pretty neat screen recording feature. You can use this to record yourself in a video, which can help create quick how-to videos or demos.
How Do I Record A Video On Zoom And Share It?
Ok, so you have the recording bit down to a fine art. NICE!
But how do you get that awesome recording and make it… you know, go into the interwebs and do its thing!?
To start, follow the same steps as above. Start a meeting with yourself, click the record button and chatter away to your heart’s content.
To share the finished result, you’ll need to have an idea of where exactly where your Zoom recording is going to end up, and this could be in one of two places.
Local
This will be saved to your hardrive as soon as you finish recording, Normally found in your ‘Downloads’ or equivalent folder. This means it is saved “locally” to your computer. Just locate this file on your computer and share away via email, Dropbox, WhatsApp, or whatever method you prefer.
Cloud
If you have a paid for Zoom account (oooh, you fancy!) then there is a good chance your Zoom recording is in the cloud – essentially it’s stored in an external digital warehouse.
To share a Cloud-based recording, locate the recording by heading into the Account Management menu, then Recording Management. You can then click the SHARE button, or alternatively download it.
Either way you have a super raw video, filled with everything you said and did, ready to share with everybody.
How To Video Record Yourself Giving A Presentation On Zoom
These instructions will walk you through a super simple way how to share a presentation while using Zoom. You could use PowerPoint or Keynote, but ultimately you can use any number of software programs to display a presentation.
First, open the presentation that you want to record, making sure that you get it to the right place to start it from (i.e. Don’t launch your Zoom recording on the last slide… SPOILERS!)
Once your presentation is ready then, launch your Zoom app and sign in.
Start a new meeting and invite yourself to join.
Once you’re in the meeting, click on the “Share Screen” button at the bottom of the screen.
This will bring up a pop-up window where you can select which screen, window or even tab you want to share. Next, select your presentation and click “Share.” This will start sharing your presentation in the Zoom meeting.
To start recording, click on the “Record” button at the bottom of the screen. This will start recording both your video and audio, as well as anything that’s being shared in the Zoom meeting (in this case, your presentation).
Pro Tip: When doing your presentation, even if you are only sharing your particular screen or tab, try not to have any other windows open. You may accidentally reveal your Wordle obsession, or that you’re trapped in a Sub Reddit about creepy pasta!
To stop recording, click on the “Stop Recording” button. This will save the recording to your computer or into the Cloud.
Now that it’s finished and processed you can then share it with others via a link or embed it on a website.

Pro Tip: If you want to create mini-chapters or even “subheads” within your presentation, why not use tl;dv instead to create timestamps at key moments?
You can break up your presentation into key points, and different viewpoints for different stakeholders, or even create an easy-to-reference contents page for viewers at a later date. It’s super simple to set up, just create a timestamp as you speak, or select key moments within the transcription when you finish your entire presentation.
Other Ways to Use Zoom Recording Feature
A Zoom recorded meeting is a powerful thing.
Besides holding meetings, it can serve other purposes as already shown with presentations. But why stop with just that?
Zoom allows you to share any part of your screen including browser tabs and even your entire screen!
Use that functionality to create YouTube videos and teach people helpful skills. You can create an entire whiteboard on your screen.
Whether you have your notes over at Notion or Google slides, you can pick direct tabs instead of your entire screen and create the perfect lesson.
It goes beyond teaching too. You could do this for short messages to clients, friends, and loved ones that you want to send a video.
You could even start your very own digital version of a cable access TV show… wait, isn’t that just YouTube?
What Shows in a Zoom Recording?
To decide which screens are shared, and most importantly, being recorded, select the Share option. When the dialogue box opens, you will be able to view all the apps and screens you are currently working on. You can then select whether you want to share some (a single tab), a little more (a window), or all (your entire screen!)
You will be able to select which ones you wish to display on your screen to record.
You can also record a presentation while the presenter(s) talk over the recording. The presentation could be either a PowerPoint, Google Slide, Notion, or a screen recording of the presenter by using an application.
Record Zoom To The Cloud Without Subscription
If you are creating these types of videos quite often, you may want an easier way to share them with colleagues and stakeholders. Local recording, although on the free plan for Zoom is great, but it does have it’s limitations.
Ultimately Cloud storage will serve you better, but Zoom only allows accounts on a paid plan to record to the Cloud.
However, there is a third alternative.
tl;dv allows you to record your awesome presentations using Zoom, plus store and share them without having to spend loads of cash on an upgraded Zoom license.
BUT you can also do it without having the technical permissions to do so.
You don’t need to be a department head, or an IT-type person with all the bells and whistles for Zoom.
tl;dv allows you to record your screen, timestamp key moments, transcribes automatically (AND into 20+ languages, mais oui!), along with powerful editing functionality, plus CRM integration.
Quite simply, it takes ALL of those steps above out the mix.
You can simply create your presentation, share you screen and tl;dv will do the rest!
tl;dv = An Easy Life
If you want to know a little bit more about tl;dv, and how it will turn you into the absolute winner of ALL presentations, then why not try it for yourself?
It starts at a totally free level, with an opportunity to upgrade to Pro if you love it. And trust us, you’re going to love it. So, presentations, meetings, or just abject curiosity of how to record a video of yourself on Zoom, tl;dv has the functionality to help you nail it every time.


